After I took a break from my fluid painting, I started working with this acrylic medium called Honey Gel. It has the consistency of Honey (like the name suggests) but maybe a little thicker. So here goes: I'll start with my pieces and then share my recipe!
I found the medium by accident (bought it on a whim) but quickly learned how to use it. Fluid painting taught me a lot that was helpful for it. The long string-like accents on the corners or accenting the composition on my fluid paintings require quick fluid movements (no pun intended) that also move off the canvas. This allows the lines to not have any kinks or strange curves at the end. It means that while going back and forth, a lot of the paint falls outside the canvas. I think the speed of the movement requires the most practice so I recommend painting a piece of cardboard first. You have to go slow enough to allow the paint to flow with no drips but fast enough that the lines are long and smooth with no kinks. I did notice that the speed differed with pouring medium and honey gel and that landed me with some wierd lines at first!

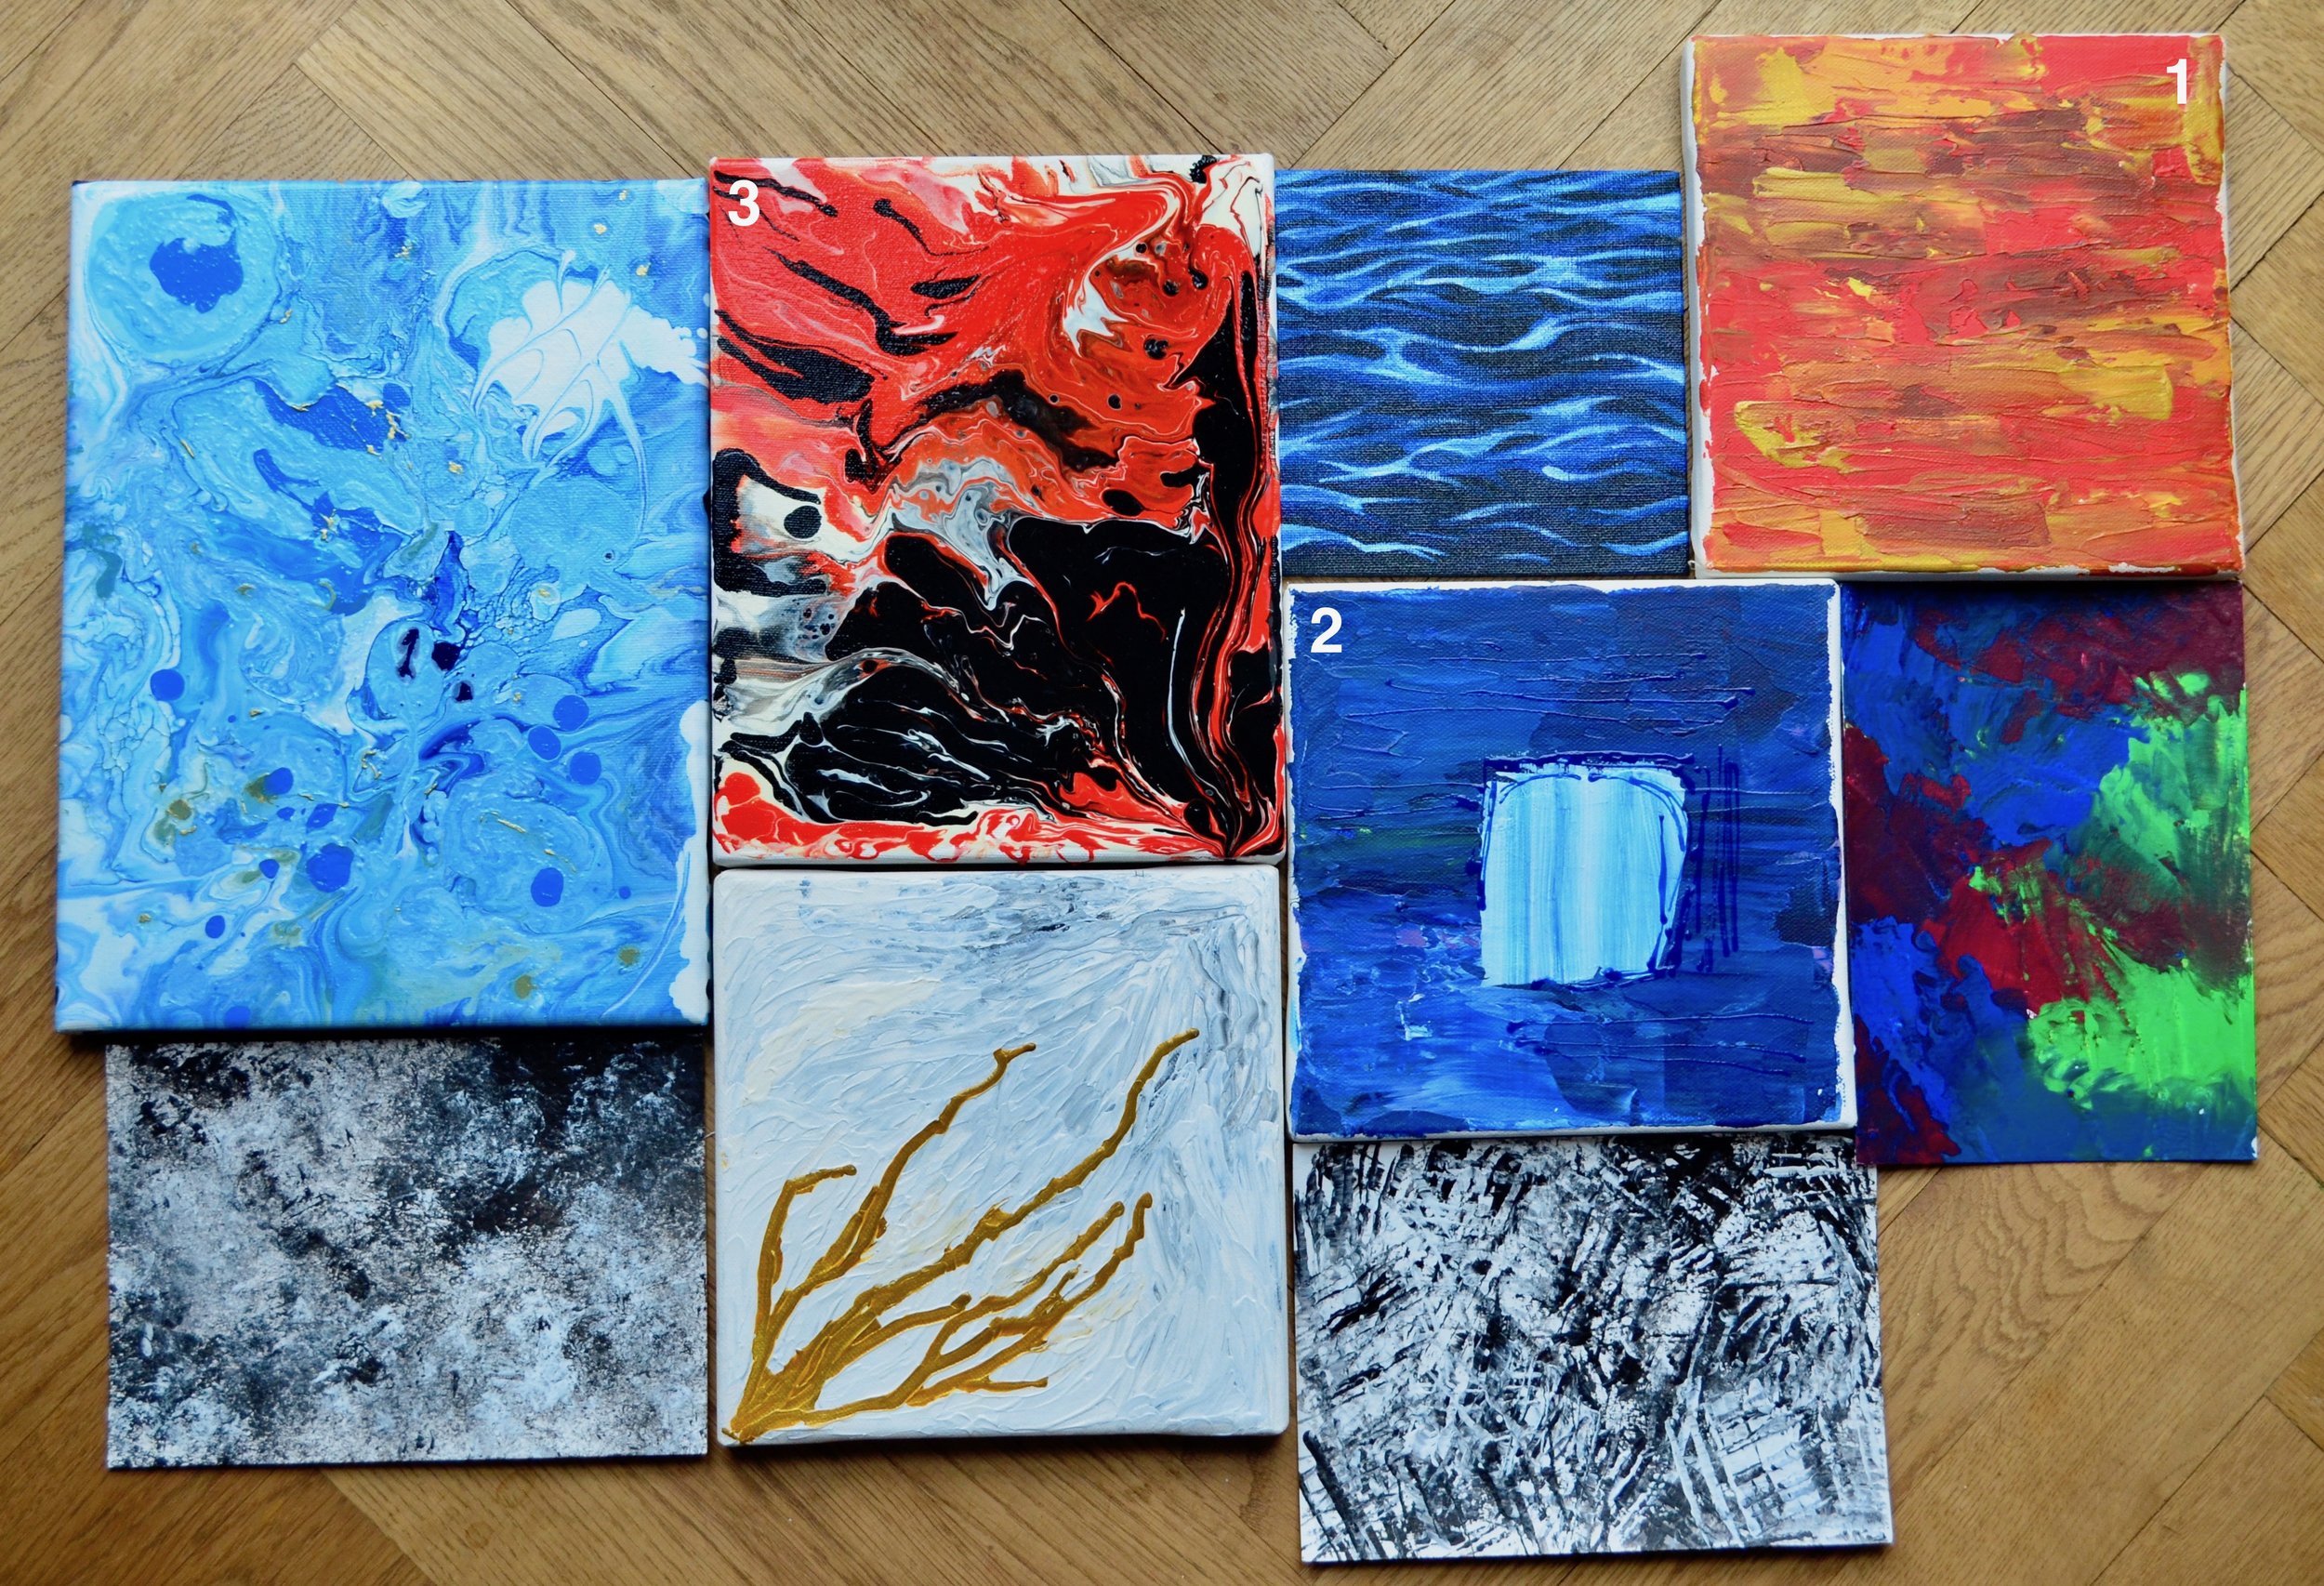
So the piece below was my first piece with pure honey gel. The lines weren't as delicate as they tend to be with pouring medium so after this I started to experiment with the recipe. But all in all, for a first attempt, I was quite happy with it.

My next piece was a little more thought out composition-wise. This time I added a little pouring medium to the gel and it was much easier to work with. It still created some wierd puddles (top left corner) so I continued to experiment. This piece glows in the dark too! I added the pigment to the gel and it worked perfectly!

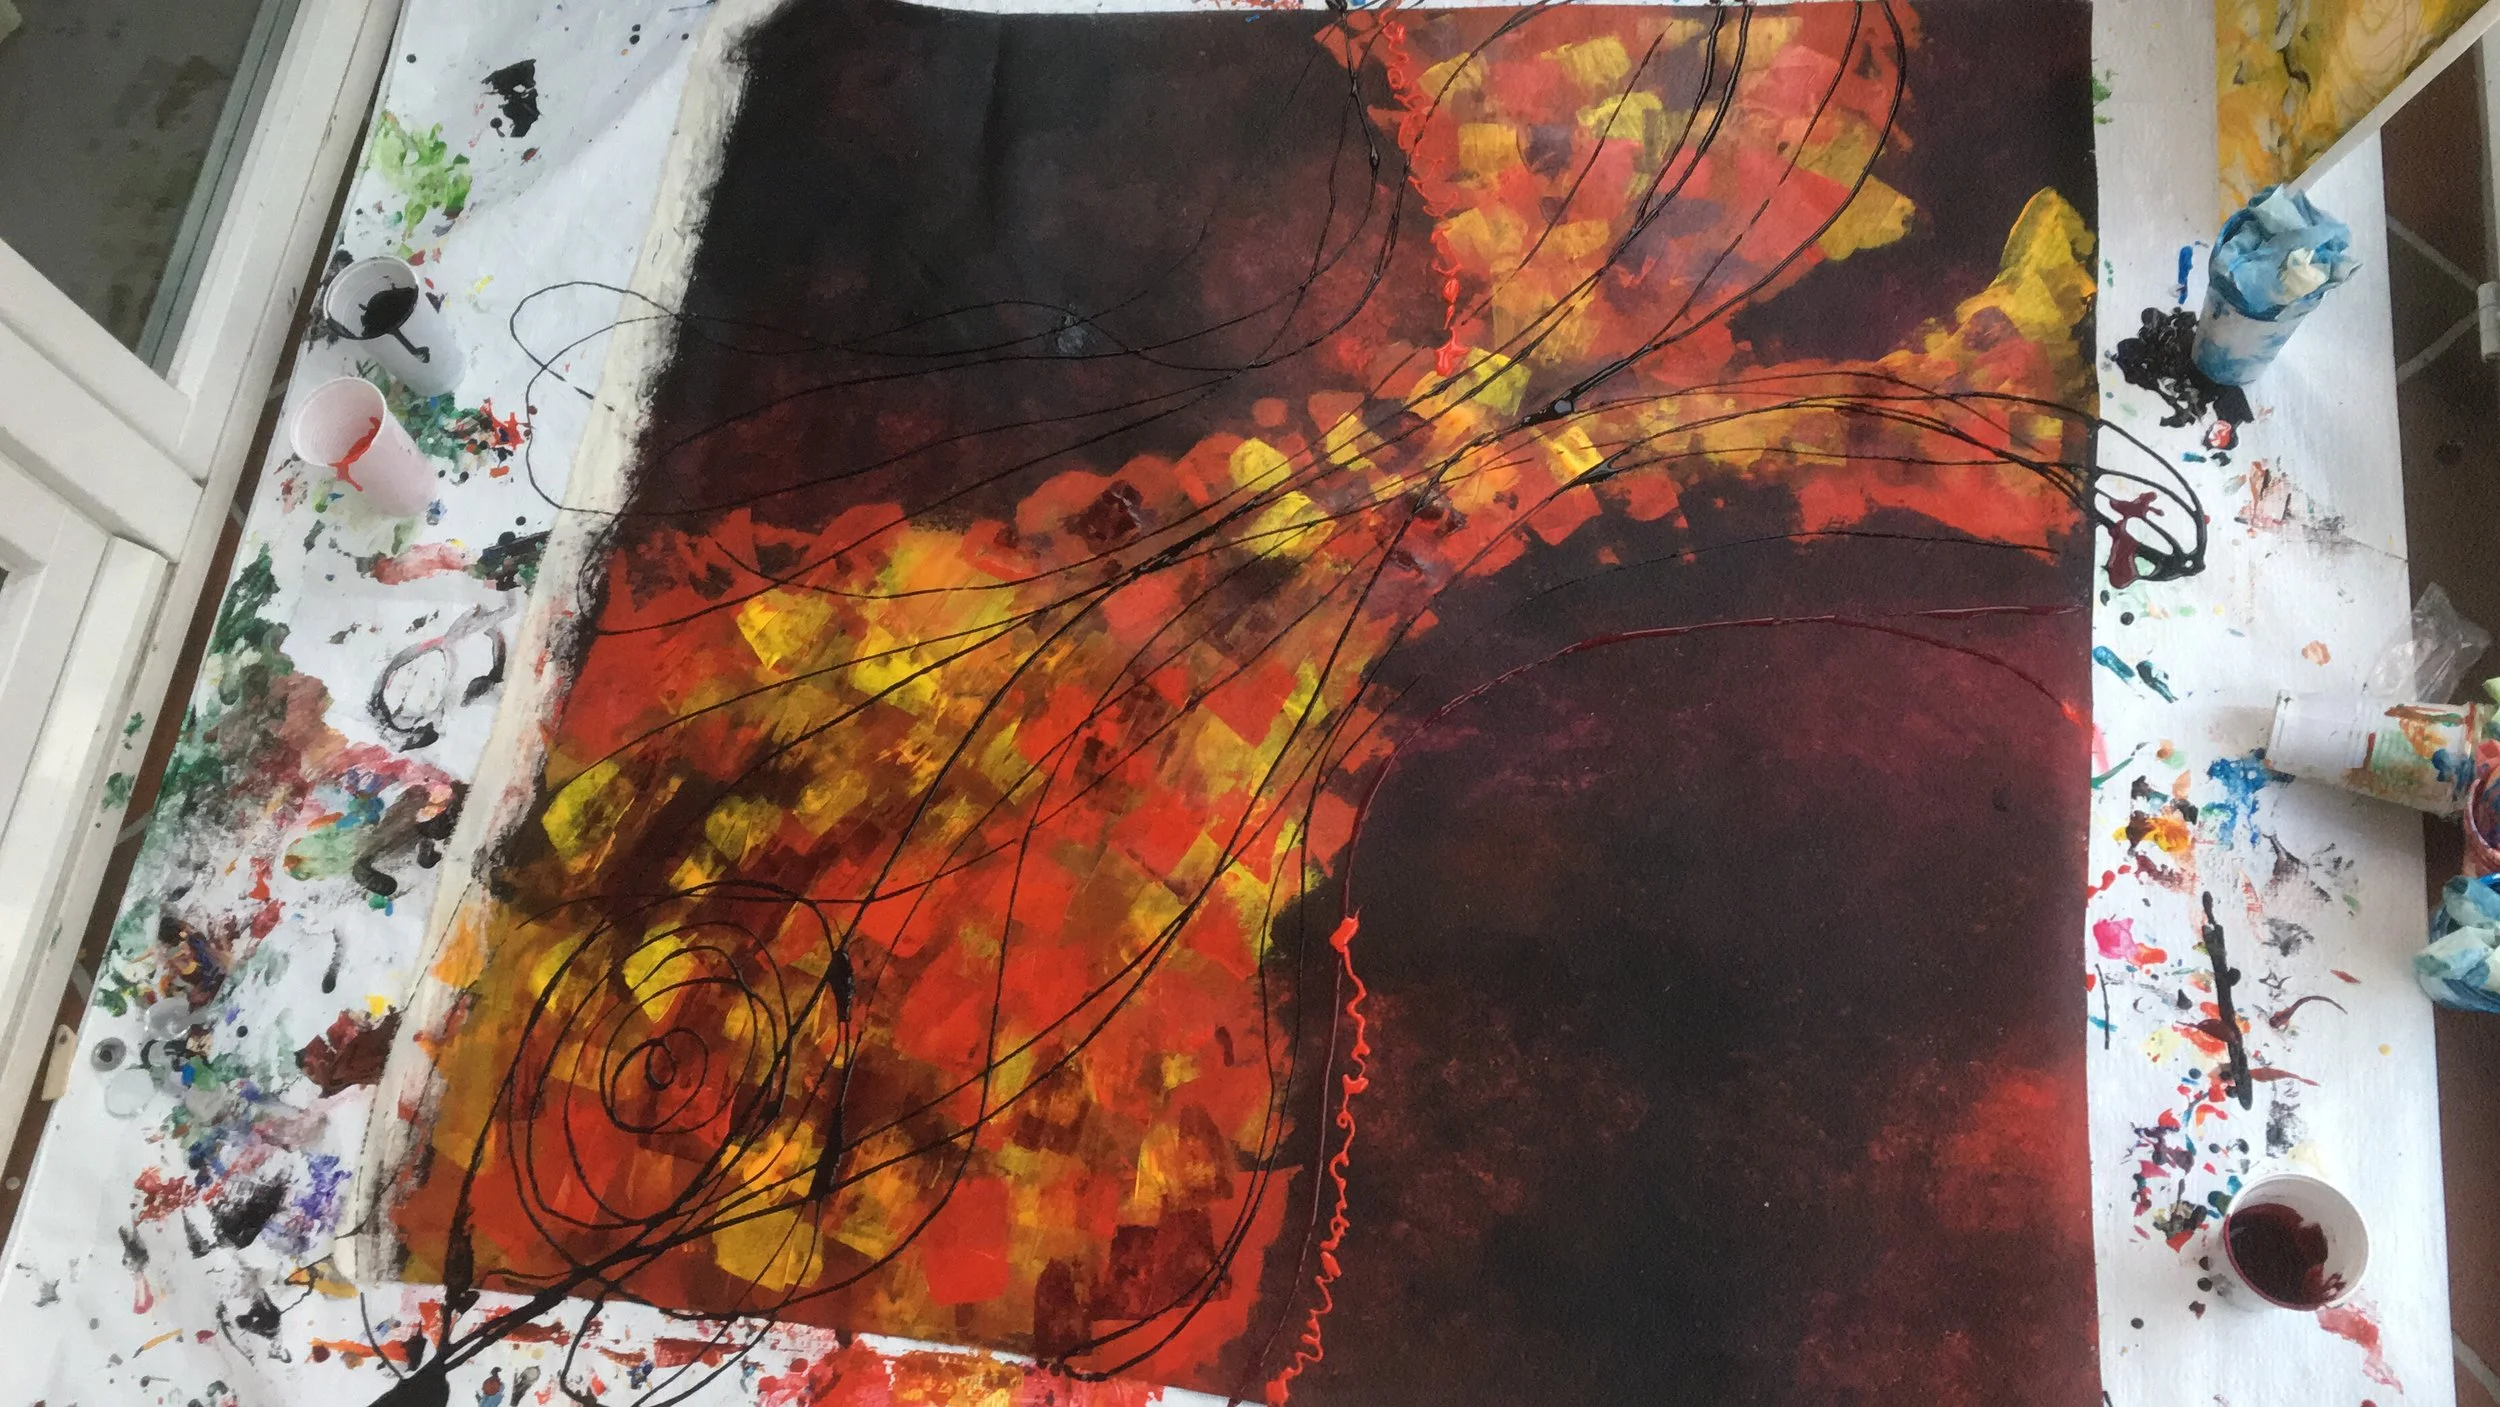
My first large piece with the honey gel! This was almost a workout to very out-of-shape person (i.e. Me). To keep the movement smooth, I had to stretch and bend across the canvas but I still managed to remove the kinks. I did create a few puddles though. This was because the gel tends to harden if its not well mixed; the lumps then fall out and create puddles. But if you act quickly and scrape towards the line then you can minimize them (if not remove them entirely). In the end, to add an interesting detail I added a very drippy line in the bottom middle section. Here, I didn't bother with smooth movements and just embraced the natural texture of the gel.
The recipe I ended with finally was a gel, pouring medium, and a mixture of water, pouring medium and flow aid (2:1:1). To create the last mixture, I added a little flow aid and water to an empty pouring medium bottle which cleaned out the rest of the pouring medium and created the perfect combination. Just make sure to mix all the ingredients really well, it takes a few minutes. All three mediums are Liquitex.
I had so much fun working with this medium to be honest! Check out my instagram for more pictures, and videos! And let me know how it works out for you!
Shivani