Palettes

I think I've tried them all at some point. None of them have stuck.  Ive never gone back to using any of these except the last one (which I'm not sure is an actual palette). Now this post may sound a little rant-like but bear with me! 

1. Glass palettes 

Artist's love these and I really don't get it! They are easy to clean and you can change the backing to make it perfectly 'clean'. But since I work with large formats (usually) and on the floor, I need it to be more portable and convenient than a glass palette can be! They are too heavy and unwieldy for me to keep moving around or even rest of my painting. 

2. Wax Paper or Tear Away Palettes

You know, they come in a pack and you basically rip off the pallete and throw it away. Ok, I used these for a while cause I had so many, but once again they didn't stick. They work well for just paint but when I mix in mediums and thinners, they tend to run over the edge or merge. Which leads to disaster as I tend to put my canvas on the dry section of my painting!

3. Wooden and Plastic Palletes  

Every artist started with one of those plastic palletes! The ones with the little wells and thumb hole. And of course, the more traditional wooden ones. I really love these for one reason: they keep a piece of each painting. But eventually this turns into a con! I've had palletes that became so caked in paint that they were entirely unusable. And I'd rather not keep spending money on palletes  

image.jpg

4. But finally! I found the right one! It's cardboard. Literally cut up pieces of packaging. I know it sounds ridiculous but not only is it cheap it works so well. You can cut out the size you want, shape it to hold more fluid mediums and in the end if you love the colors you can keep it! (That's what I did with the one below) And best of all, its cheap and you're recycling your trash.   

image.jpg

(5) Ok this one, I added as an afterthought! There comes a time when you're too lazy to grab another bit of card or maybe you're in the moment and don't want to pause to cut up boxes. I started just using my tarp for simple techniques. Like below, it works really well for pallet knives and those plastic wipers (sorry, I don't know what they're called!)  

4C43A975-BAB0-436F-B34F-02363285C140.JPG

Sorry about the rant, but hope it helped anyway! If you guys know any other types of pallets, let me know! 

Shivani  
Working with Honey Gel

After I took a break from my fluid painting, I started working with this acrylic medium called Honey Gel. It has the consistency of Honey (like the name suggests) but maybe a little thicker. So here goes: I'll start with my pieces and then share my recipe!


I found the medium by accident (bought it on a whim) but quickly learned how to use it. Fluid painting taught me a lot that was helpful for it. The long string-like accents on the corners or accenting the composition on my fluid paintings require quick fluid movements (no pun intended) that also move off the canvas. This allows the lines to not have any kinks or strange curves at the end. It means that while going back and forth, a lot of the paint falls outside the canvas. I think the speed of the movement requires the most practice so I recommend painting a piece of cardboard first. You have to go slow enough to allow the paint to flow with no drips but fast enough that the lines are long and smooth with no kinks. I did notice that the speed differed with pouring medium and honey gel and that landed me with some wierd lines at first!

B1AA4BF5-6C18-4513-B87C-5A53EC86BE03.JPG

So the piece below was my first piece with pure honey gel. The lines weren't as delicate as they tend to be with pouring medium so after this I started to experiment with the recipe. But all in all, for a first attempt, I was quite happy with it. 

FullSizeRender.jpg

My next piece was a little more thought out composition-wise. This time I added a little pouring medium to the gel and it was much easier to work with. It still created some wierd puddles (top left corner) so I continued to experiment. This piece glows in the dark too! I added the pigment to the gel and it worked perfectly! 

FullSizeRender.jpg

My first large piece with the honey gel! This was almost a workout to very out-of-shape person (i.e. Me). To keep the movement smooth, I had to stretch and bend across the canvas but I still managed to remove the kinks. I did create a few puddles though. This was because the gel tends to harden if its not well mixed; the lumps then fall out and create puddles. But if you act quickly and scrape towards the line then you can minimize them (if not remove them entirely). In the end, to add an interesting detail I added a very drippy line in the bottom middle section. Here, I didn't bother with smooth movements and just embraced the natural texture of the gel. 

5402D512-700E-4D43-BEAB-450725C8ED4A.JPG

The recipe I ended with finally was a gel, pouring medium, and a mixture of water, pouring medium and flow aid (2:1:1). To create the last mixture, I added a little flow aid and water to an empty pouring medium bottle which cleaned out the rest of the pouring medium and created the perfect combination. Just make sure to mix all the ingredients really well, it takes a few minutes. All three mediums are Liquitex.  

I had so much fun working with this medium to be honest! Check out my instagram for more pictures, and videos! And let me know how it works out for you!
  

Shivani  

Coping with Artist's Block

Everybody deals with artist's block at some point or the other. Trust me, I have days where there's not a single idea in my head. And there are days where the ideas just don't translate well; a hand turns into a paw. So here are a few tips that I use to get over the hump:


1. INSTAGRAM BOOKMARKS

So as you know, I run an instagram account for this website! I'm on instagram everyday; posting and interacting with other artists. So I naturally come across pieces that inspire me. The trick is to bookmark them so you can scroll through this for ideas later! Even if you don't run an instagram for your own work, you should definitely follow some artists or even just check out the art hashtag! 

FullSizeRender.jpg

2. PINTEREST BOARDS

This was my first way to find and categories art for inspiration! This is my art board, I have a lot of others for architecture, tutorials and references! This is a really good way to find some amazing pieces! And hey you can just follow my board for a constant stream! 

IMG_0208.PNG

3. GALLERIES AND ART MAGAZINES

Galleries are pretty self explanatory, but it's also a great way to understand how to curate and talk about your work! But the art magazines are a great source of inspiration. The Lumas Art Magazine is my favorite! It has such vivid pieces and although I don't usually use the techniques, the colors palletes are amazing!! So you can subscribe or just go to the gallery and pick it up. If you cant go to a gallery, check it out line. 

FullSizeRender.jpg

4. TUMBLR BLOGS

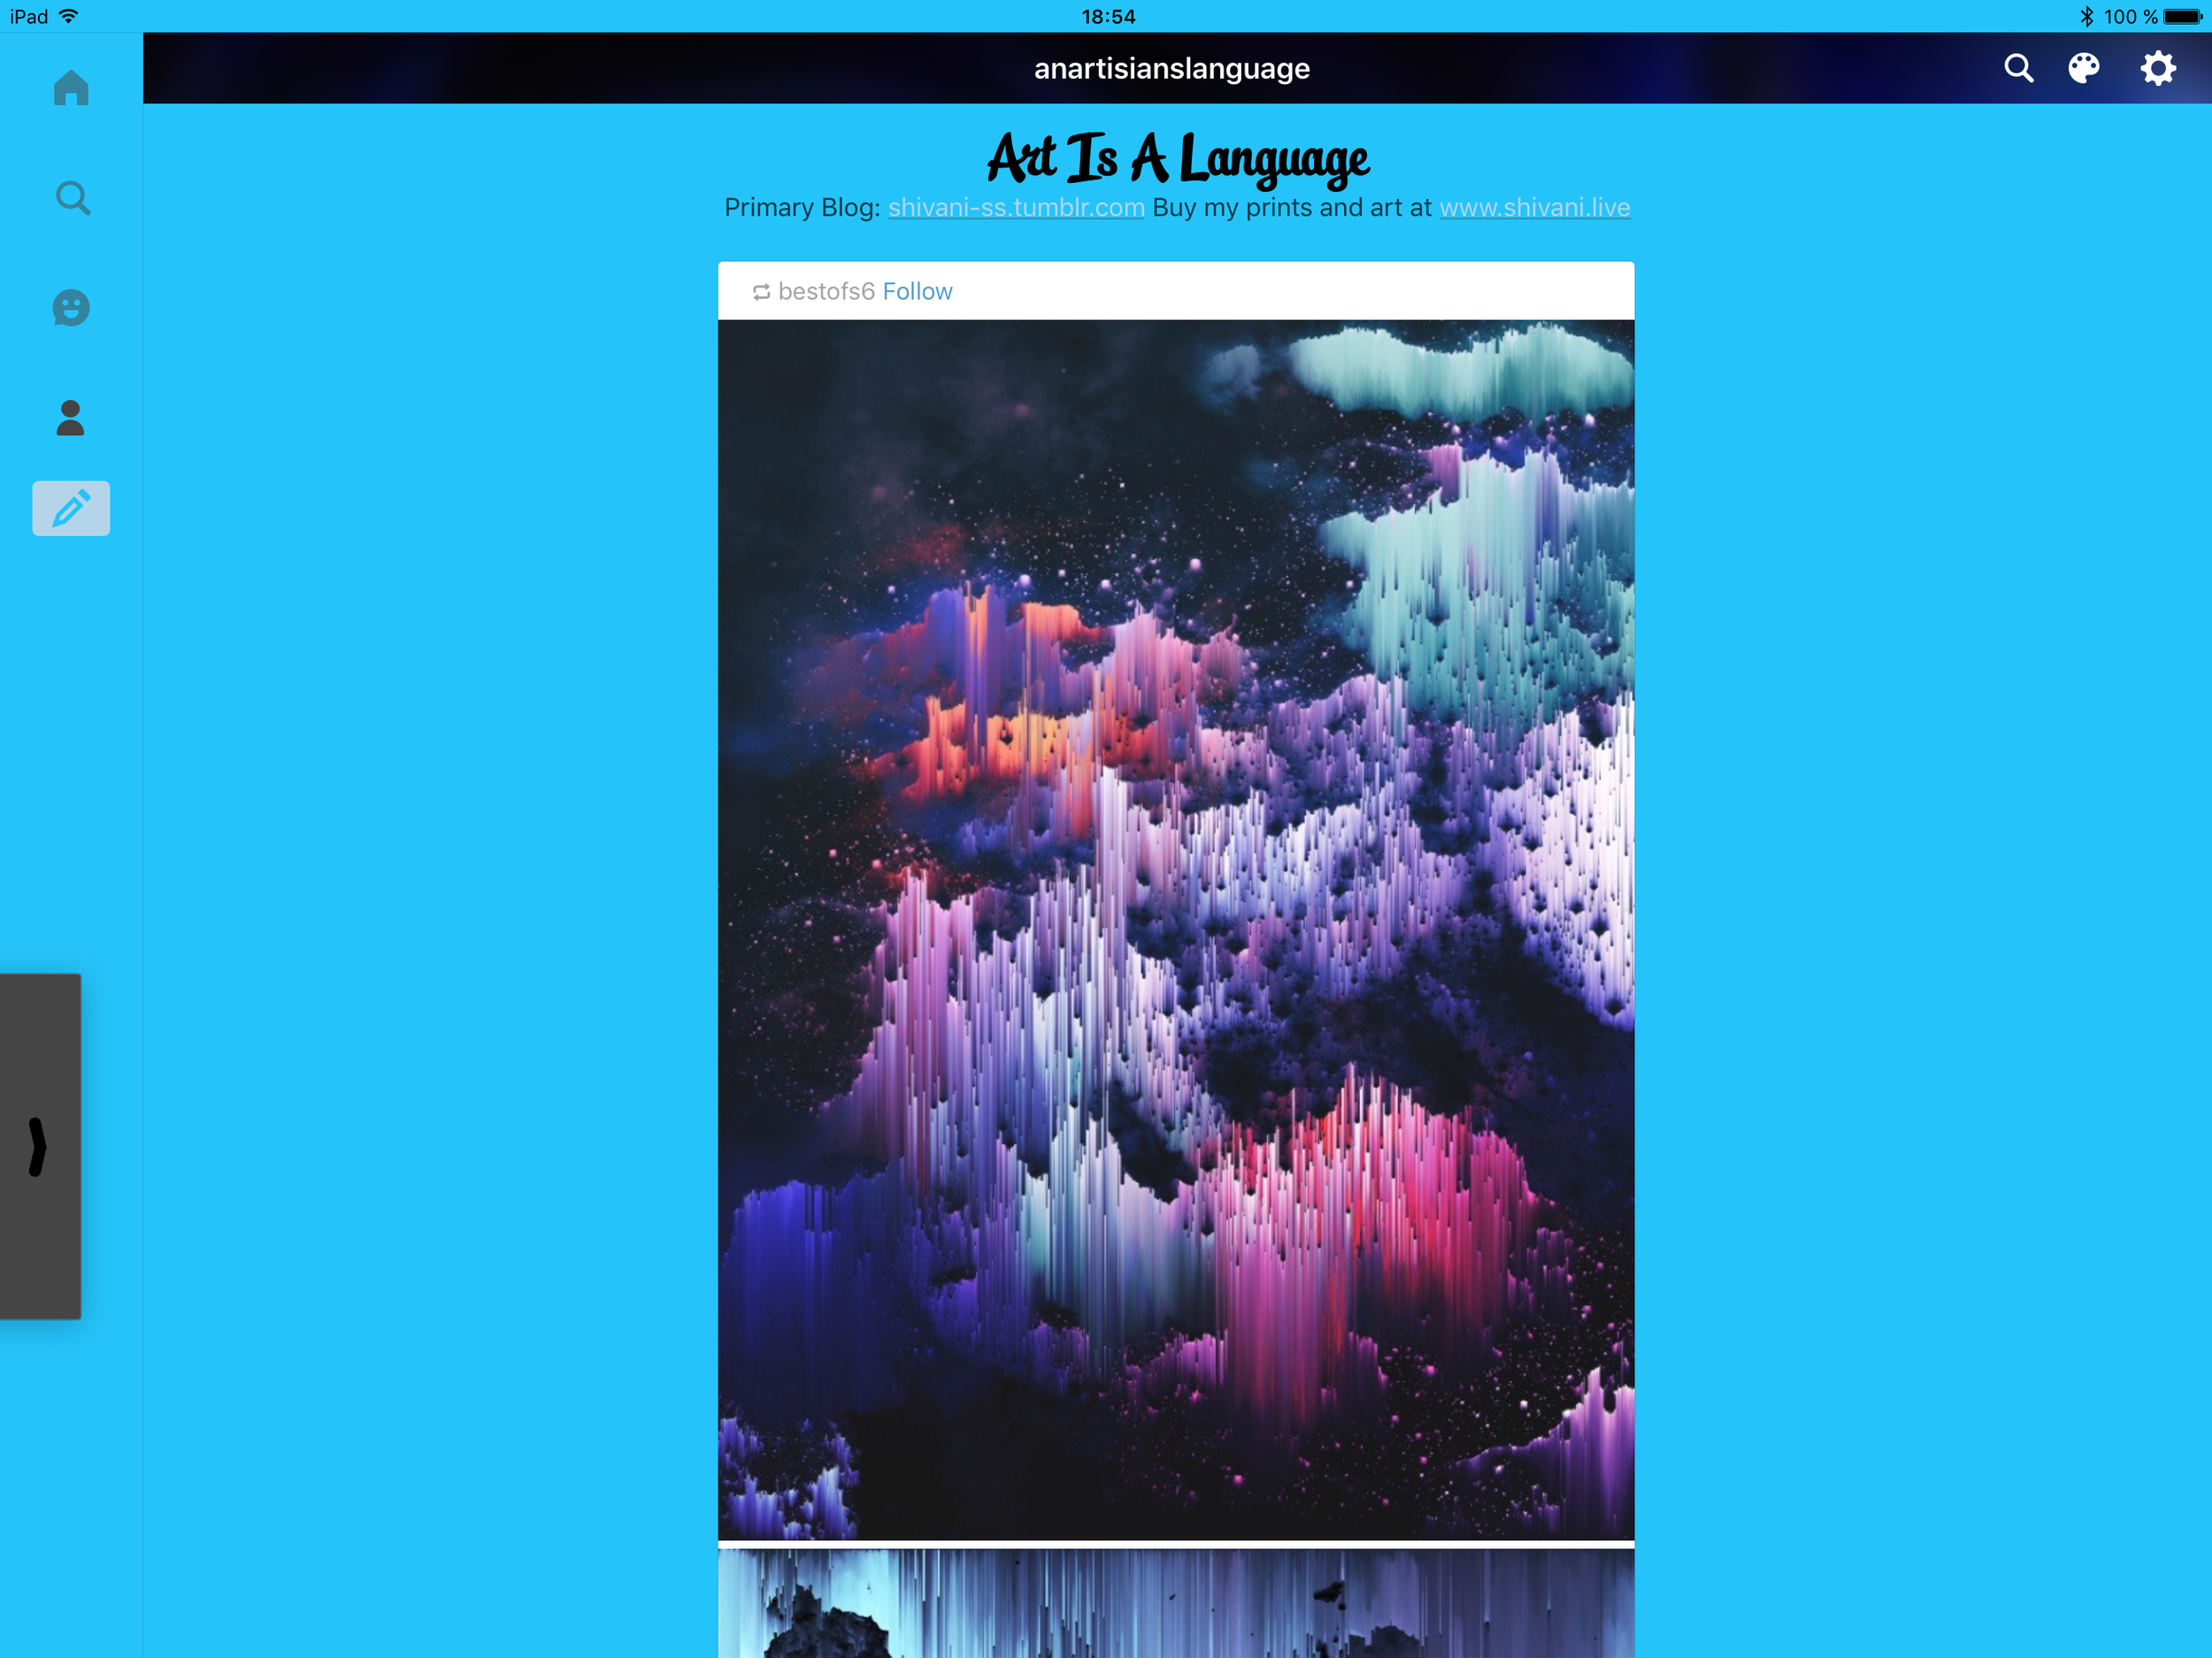
This is a little strange but tumblr art blogs are actually really interesting. They work like a combination of the Pinterest boards and the instagram blogs. I run the blog below for this website but I follow quite a few artists. Unlike instagram, they tend to reblog a lot from other artists and galleries instead of posting their own art.

IMG_0211.PNG

5. Worst comes to worst: just put pen to paper, brush to canvas or pouring medium in the cup. It's a cliche for a reason, right? I think the key is to not get completely discouraged when the hand drawing turns into a paw!  


Try them and let me know how they worked for you! And, of course, if you have some tips of your own, please share them! 

Shivani 

Painting Miniatures - A Tutorial

I love painting miniatures! You can so easily engage with the canvas and the images so you can spend anywhere from 20 minutes to 2 hours on it! And, of course, they usually turn out amazing cause no one can see your mistakes!!

image.jpg

Here are a few that Ive done recently, so Ill take you through my process:

image.jpg

1. Lay down a base colour or if you're a bit lazy (like me), buy a canvas of that colour

2. Choose a few reference images. It makes color matching much simpler and you can think about your composition before hand. If you need it make some light pencil marks to lay down the image. 

3. You can skip this step if you want to use your own pallet but i do recommend fixing your canvas to another piece of card so you can move your canvas around without actually touching it (a smudge could easily ruin the whole painting). I fix my canvas to an A4 size piece of cardboard and then put small amounts of paint along the top. It just makes the whole process more accessible. I sometimes use a small bottle of water to clean my brushes as well.

IMG_0930.jpg

4. I then apply the paint in small circles. This is just a technique I use though, feel free to apply as you want to! If I need to create a gradient over a large area, I actually use my finger to apply paint, it usually works better than a brush.

5. After I'm happy with it and its dry, I just spray on a thin layer of varnish to finish!

It's not much, but these techniques work for me every time! Let me know what you think!

Shivani

A Fluid Art Tutorial

I have recently begun experimenting with Fluid Art and unfortunately discovered that its not as easy as it looks! I'm far from an expert, but here's my simple tutorial. It will probably change in the future, but I'll keep you guys updated!


This is a final piece; I'm going to take you through the process.  

Final piece  

Final piece  

1. I first spray a thin coat of varnish on the canvas (make sure it's a stretched canvas) to allow the paint to move across it easily  

2. I then mix the colors I want with flow aid, water and pouring medium. First mix the flow aid and water 20:1. Add this mixture and pouring medium to the paint until you've got enough paint and the drips are continuous streams. Below is more than enough to cover 40x40 cm. 

The paint  

The paint  

3. For this painting I attempted to be more controlled so I poured the paint in a pattern and attempted to spread it without disturbing it. There's no right way to do it, you can pour them all into another cup and pour this, or flip the cup onto it (a dirty cup pour). To spread the paint simply tilt the canvas in what ever direction your want it to fall.  


Applying the paint

Applying the paint

Below is what it looked like after I finished pouring and spreading.  

image.jpg

4. I then added more detail by swirling the paint around. If you do it when it's wet the paint will Reform with the pattern you create but if you wait too long or move too much it will create a 'hole' in the surface. You can also use this method to correct any stray drips like the blue drop in the bottom left corner. Lift it out with a straight edge (some cardboard or a chisel tip rubber brush and move the surrounding paint to close over the gap. 

Adding detail

Adding detail

And here is the final piece!! I added more detail almost exclusively in the center.

Final piece

Final piece

I've been watching a lot of tutorials and looking at a lot of fluid art pieces to come up with this technique but I'm still learning! So let me know if you have any suggestions! Comment below!  

Shivani