Cleaning your Tools

Cleaning your tools is important if you want to keep using them in a few years! And art tools especially become unusable very quickly! So I've put together a few tips for you:  

Palette Knives

Palette Knives

Metal Palette knives have to be cleaned immediately or they immediately become encrusted with paint and effect mediums. I use a rag, which wipes everything off and leaves your pallet knife as good as new! But I keep some encrusted knives as they create some interesting textures. If its a thin layer of just paint then it can be cleaned off some rubbing alcohol. The plastics knives (left) are the cheapest and I usually buy them to use with effect mediums. They almost never return to original, at the very least getting stained (and then tinting paint it touches). 
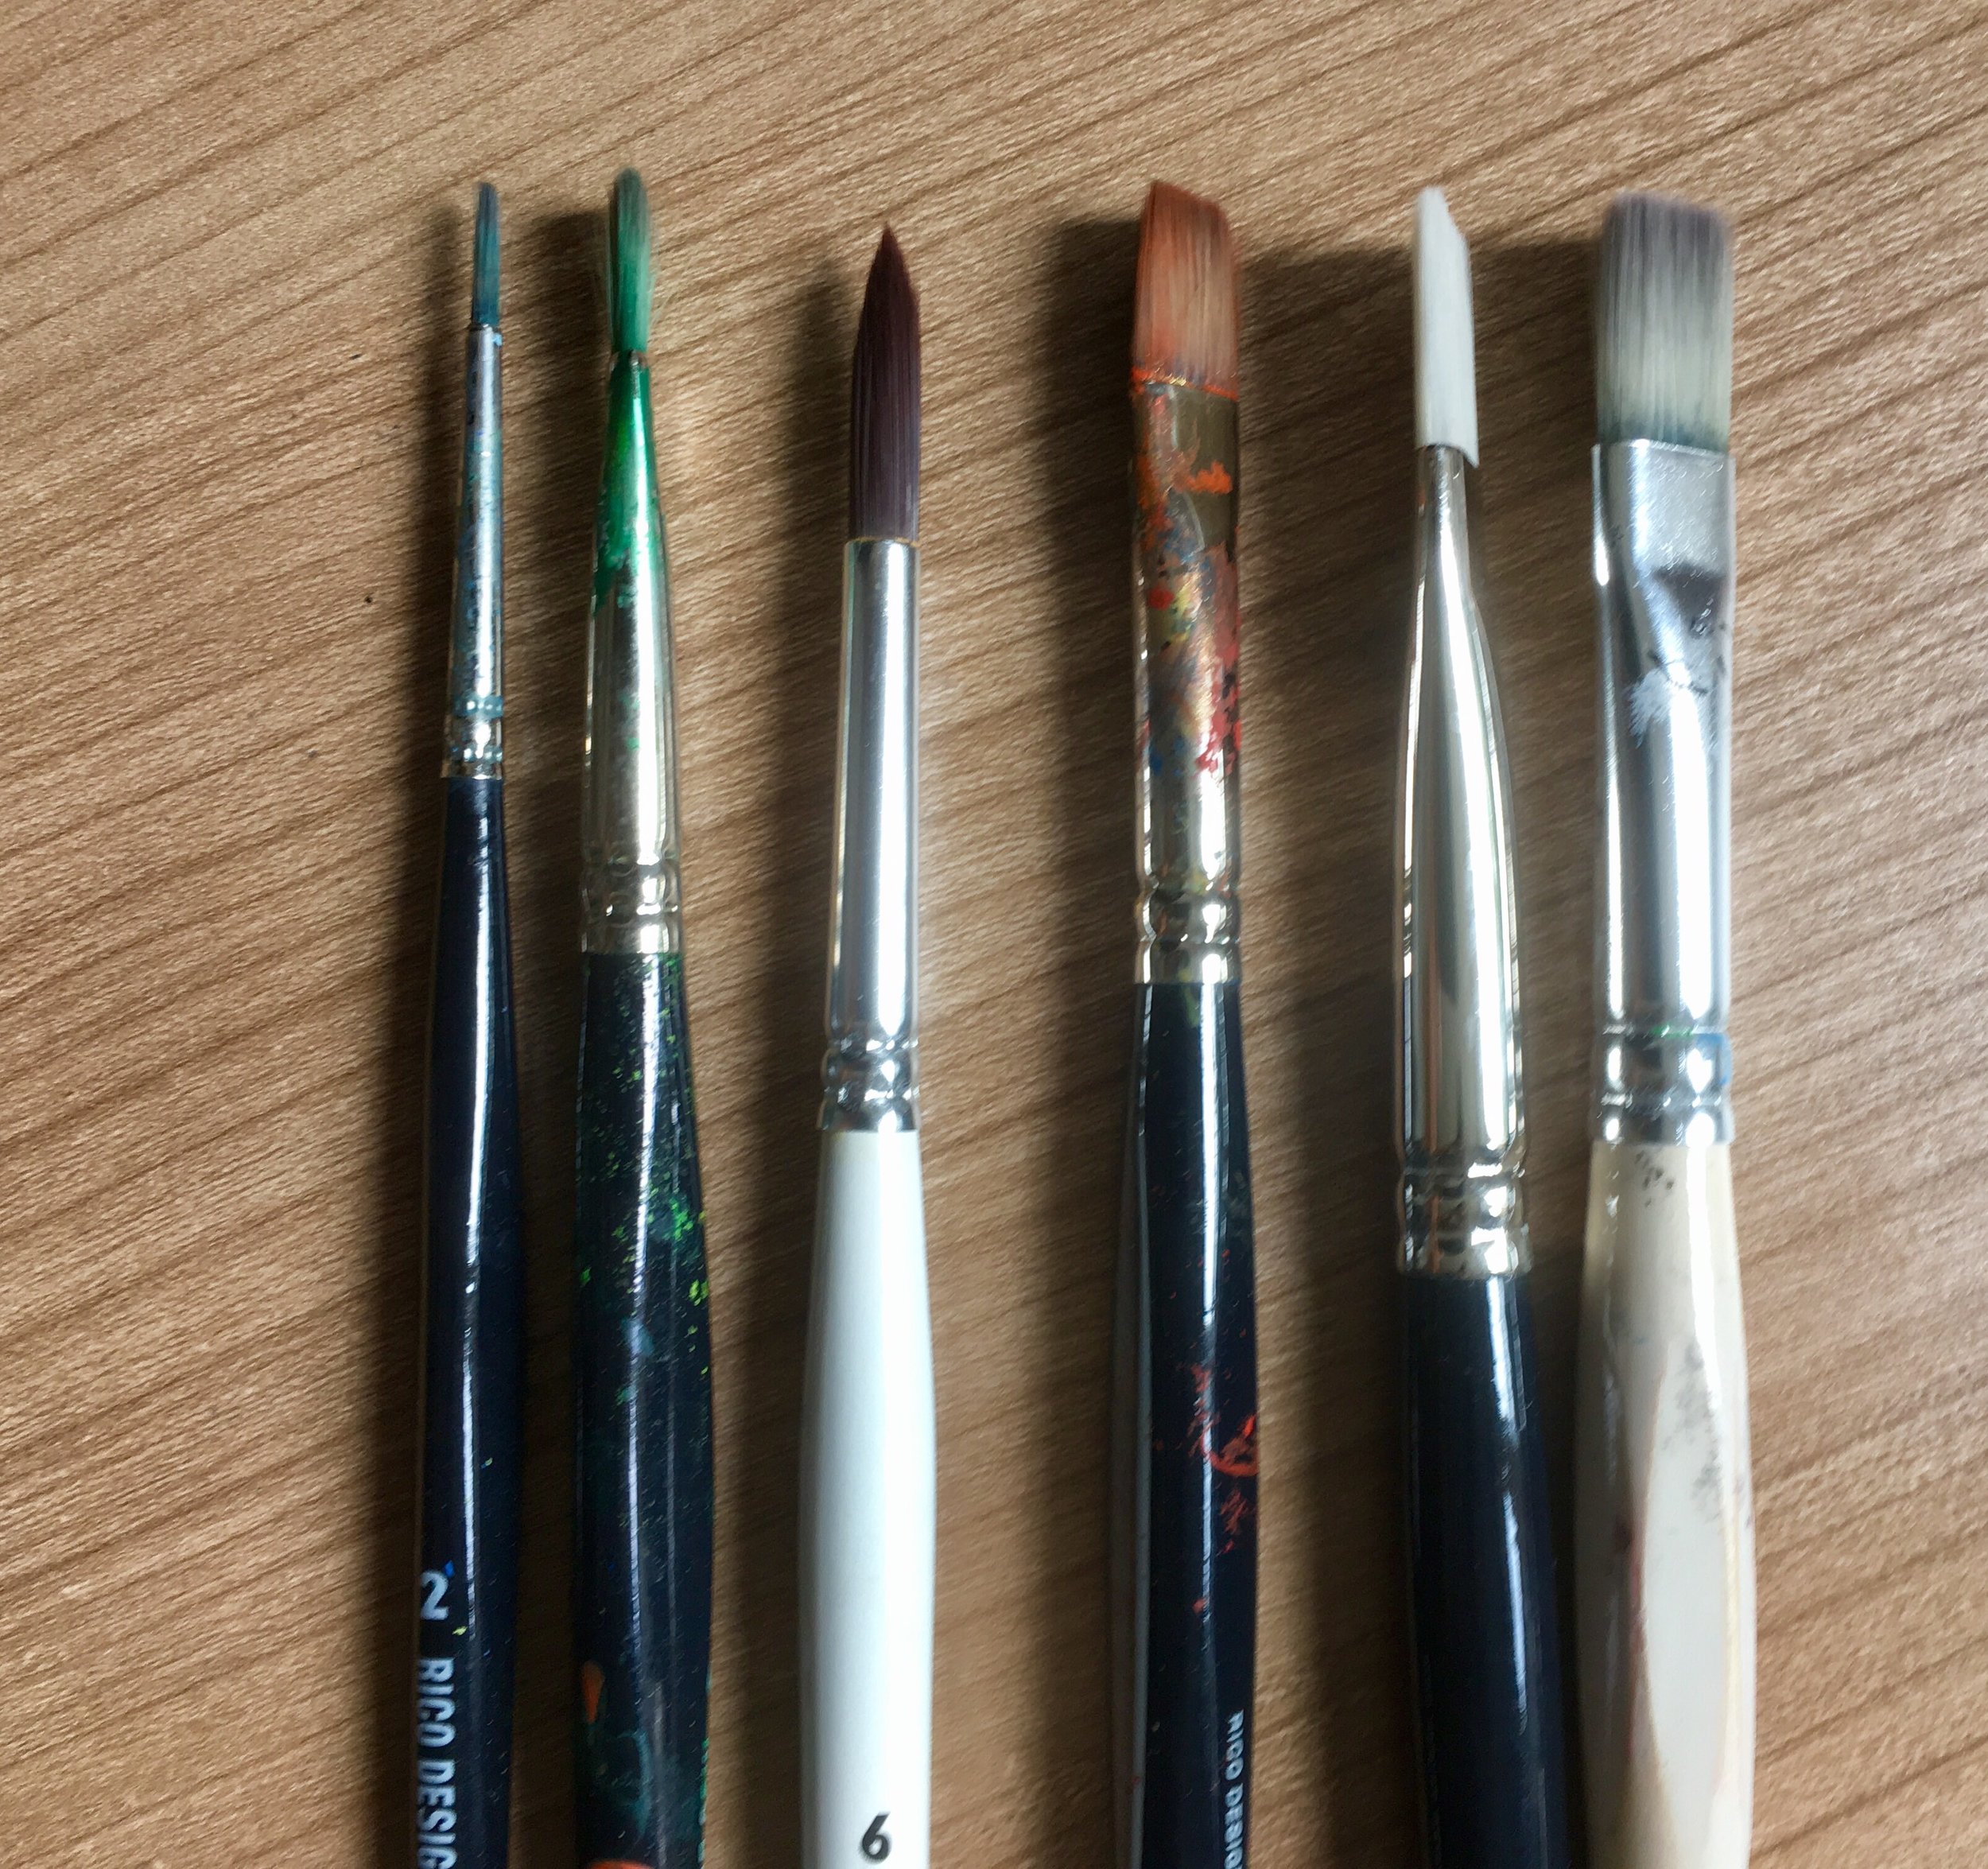
Paintbrushes

Paintbrushes

I'm sure you've been told this a billion times before, but I'm going to say it again. When you're not using the paintbrush while painting; keep it wet and wash it ASAP! Don't leave it standing in your pot of water as that will bend or damage the tip. When washing them, hold it pointing down in the stream of water and gently clean it until the water runs clear. 

Rubber brushes

Rubber brushes

These are probably the most paint caked tools I own. They're rubber 'brushes' that have chiseled tips. Though they're meant for texture I also use them to clean paint or make sure I get all the paint out of the cup (with fluidart). I even use them to clean my palettes.  


Any suggestions?  Comment below! 

Shivani  

Experimenting and Testing

Before I start a new painting, I make it a point to do at least one experiment or test. Not only does it help solidify the idea in your head; you can make sure that the colors work well together and even experiment with the technique. A lot of these are on small cheap stretched canvases but I do it on paper as well. So I thought I'd share some these as they're just stacked up in a shelf at the moment.

1. Testing Color  

Sometimes I just do a swatch on piece of cardboard but more often than not I'll use a small canvas. The benefit of using the canvas is that you can truly see the colors combining and every combination of them all in one. You can even practice the technique you want to use! For colors that I'm more familiar with, its usually just a few smudges of the colors on a piece of cardboard. All of this effort is just so that you have no surprises with a strange color or an unattractive combination on a 'final' piece. 

2. Combining Techniques

This was for a commissioned piece so I had very little room for error. I experiemented with multiple techniques on this canvas; layering and combining to create a final working composition. It was for a therapist's office so it had to add to a calm atmosphere. I had to make sure that the techniques and colors didn't take away from it.

3. Experimenting with a new technique

This particular one was my first attempt at fluidart (pouring paint to create pieces). I typically practice and experiment with a technique before I begin a piece. It's better to experiment and develop your own take on the experiment before you begin - especially with a technique that's currently trending. You want to stand out. In my opinion, this really helps developing a personal style. 


Thinking about trying this? Or have any suggestions? Comment and share below!!

Shivani  

Inside my Camera Bag

I travel very often, occasionally do a little freelance photography and, of course, photograph my art and processes. All this means that I use my camera very often and tow a lot of equipment around! So I thought I would give you guys a look inside my camera bag. To be honest, it wasn't until after I unpacked it that I realize its a lot! No wonder its so heavy!! 

The contents  

The contents  

Alright here goes:  

1. My camera  

I make sure to clean it as often as I can (the inside, the outside is covered in paint smudges) but that's about all care I take! It's often out of the bag, on my desk (as I edit) or hanging off my arm or wrist.  

2. Lenses  

I own one kit lense that came with the camera (18-55) and one macro lense (55-200) that I bought second- hand. I love the macro lense for architectural and other details but the kit lense is the one I use more often. For the work I do - generally art, portraits or cityscapes - it works quite well.  

3. Tripod attachments  

The one on the left is for my larger tripod and the one on the left is for my knock off gorilla pod. I use the gorilla pod to stabilize my photography and take photographs from a distance. The larger one is generally for art as the camera muse be at a 90 degree angle to canvas to avoid distortion. It allows me to adjust the tilt angle, height and rotation angle. If you're going to be using your camera to photograph your art, I would strongly recommend getting one.  

4. Knock-off Gorilla pod

I got this really cheap, a few years back. So far, it has damaged my camera; it hasn't slipped or come off whatever I attached it to. I've even attached it to a roof to record a build in university and it was fine! I was very paranoid but it held! 

5. Travel watercolors

I used to hate working with watercolors but I've taken to using them to add color to my travel sketchbook and for practice. It includes a pallete and 12 color blocks. 

6. Travel Sketchbook  

My travel sketchbook is pretty useful 'cause its like a notebook, sketchbook and planner all in one. I have ongoing pages of appointments, notes and reminders, architectural sketches, field notes and even color studies. It started off as a sketchbook but as I always have it on me, I began to use it for everything. And so far the system hasn't failed me!

7. My pen and watercolor brush  

I use an artists pen (M) with waterproof ink. The watercolor brush also holds water so I don't have to worry about having a water dish. 

8. SD cards and converter 

I always have extra SD cards just in case one gets full or something goes wrong. The converter is so I can import directly into my iPad as that's where I manage my social media and edit photos.  

9. A remote  

Pretty self-explantory, its for when I can access the camera directly. I also use it when the camera is on the tripod; using the button can destabilize the photograph.  

10. Filter case

I have UV filters, effect filters and even a few magnification lenses but I don't usually carry it around. 

The packed bag

The packed bag

Any suggestions? Comment below!! 

Shivani

First Attempts at Digital Art

After moving, its been really difficult to keep up my art. Ive been sketching and drawing but not for myself. So in an attempt to get back to it, I tried digital art on my iPad. I used Adobe Draw with my Apple Pencil. I can definitely say now that the pencil works seamlessly with the iPad and I really enjoyed the whole process. Now, keep in mind this is my first attempt so don't judge too hard! 

This is the image I based it off of; definitely one of my favorite photographs (taken by Steve McCurry)


image.jpg

I began with an initial sketch and then experimented with a couple brushes to get a feel of the app.

Initial Sketch

Yeah, I know, its a very very rough sketch but it served as a baseline for laying down the color. I struggled with the proportions as I had the picture printed (old-school) next to my Ipad and was trying to sketch, but I think in the end, I did it justice.

The final piece 

So, there you go. My first attempt. I don't have too many positive things to say about the final piece but, hopefully, that's because Im really not used to it. Maybe this will become my primary medium some day in the very very distant future. But right now, everything about this was a struggle. I don't even feel comfortable sketching yet. 

If you have any tips, comment below!

Shivani